Loading page header ... or Your browser does not support JavaScript
Building the 'Sinbad 2' Kit:The "Sinbad 2" is a 3.40 m nesting dinghy. She is constructed using the stitch and glue (or tack and tape) method. Plans for the conventional build are available here. Aside from the "Pinta" which was built from CNC cut parts, I built all other dinghies from hand marked out parts, butt joined where required. Recently I wondered about providing plywood kits for some of the designs. Nesting dinghies seemed to be the ideal type of boat for kit construction and I wanted to see how I could simplify the build by using this technology. I like the more generous size of the Sinbad 2 and so she became the test case. For the CNC kit I re-designed certain aspects of the original dinghy in order to simplify assembly. The major change is that the boat is straight away built in two separate halves, thereby avoiding the butt-joining necessary to get the full length of topside and bottom panels. These panels are precision cut to mate at the separation plane where they are glued to the twin mid-bulkheads. Building in two halves, the topside panels are much shorter so it was not practical to have an inwale glued on as it would make the panel too stiff to bend, however the floor stiffeners in the aft section still get glued on prior to assembly. Other changes are minor and will be highlighted during the presentation of the build. |
|
 |
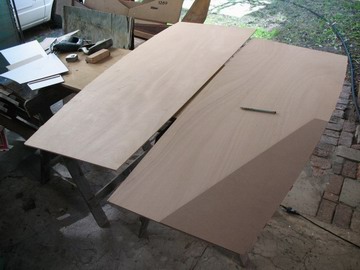 |
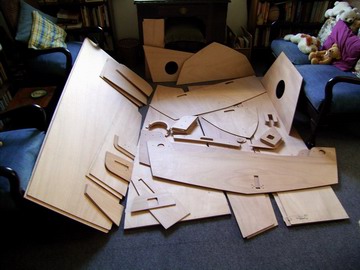
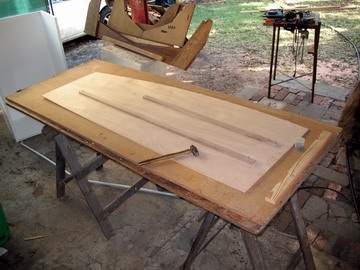
| 28-07-02: This is what the kit looks like spread out. Four sheets of marine ply yield a lot of small parts... | Lines are marked off where bulkheads etc. land. Future kits will have this already marked off. |
|
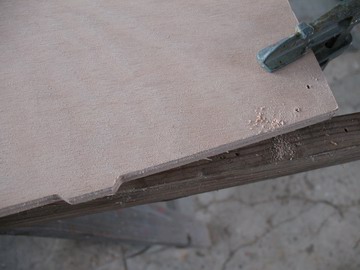 |
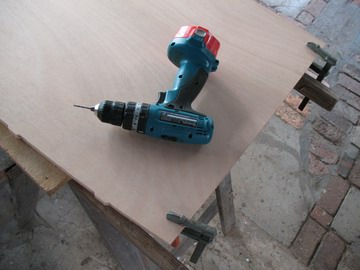
| Pre-drilling the holes for the copper ties. P&S panels are placed on top of each other and drilled together. Use 2mm holes for a 1.2mm copper ties. | Alternating tabs along the chine make alignment easier. |
|
 |
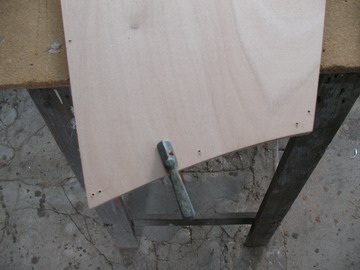
| This is the bow end of the bottom panel. | There is preparatory work, like gluing floor stiffeners on, here a dry run using panel pins to locate the battens. |
|
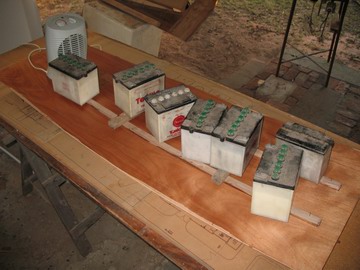 |
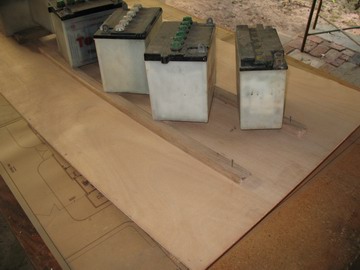
| Second dry run, using the weights and a 45x22 on edge at either end to simulate the bottom panel's curvature. | Sealing of panel and gluing on of stiffener battens done in one operation. |
|
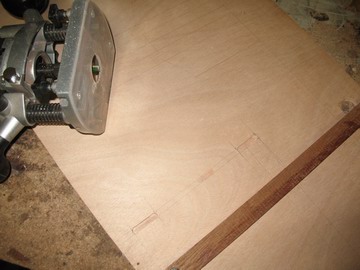 |
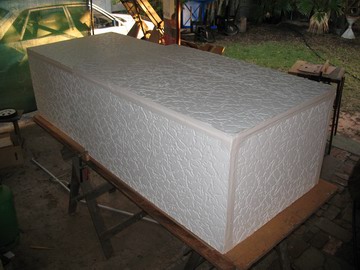
| Its the southern winter, so I made up a hot-box containing a fan-heater. The thermostat cycles for the next 24hrs, seems to hold on average 25 deg C. | Going on to the transom. The seat risers are tennoned into the transom. The CNC firm forgot to cut the four mortises, but they were easy enough to cut with a small hand held router using a batten as a parallel guide. |
Next
Top of Page
Loading first page footer ... or Your browser does not support JavaScript
Loading second page footer ... or Your browser does not support JavaScript